Embarking on a camping trip is as much about enjoying the wilderness as it is about savoring delicious food. With Dutch oven camping recipes, you can create hearty meals that rival those from your home kitchen, all while enjoying the great outdoors. A Dutch oven, known for its versatility and durability, is the perfect companion for preparing everything from comforting stews to decadent desserts. Let this guide inspire your next adventure as you master the art of campfire cooking!
Introduction to Dutch Oven Camping Recipes
Dutch Oven Camping Recipes: The Ultimate Guide for Campfire Cooking
Camping enthusiasts often rave about the magic of a Dutch oven. But why does it hold such a revered place in the world of outdoor cooking? Simply put, this sturdy piece of cookware is a campfire MVP. Its ability to evenly distribute heat and lock in flavors makes it indispensable for a variety of recipes—from savory soups to sweet cobblers.
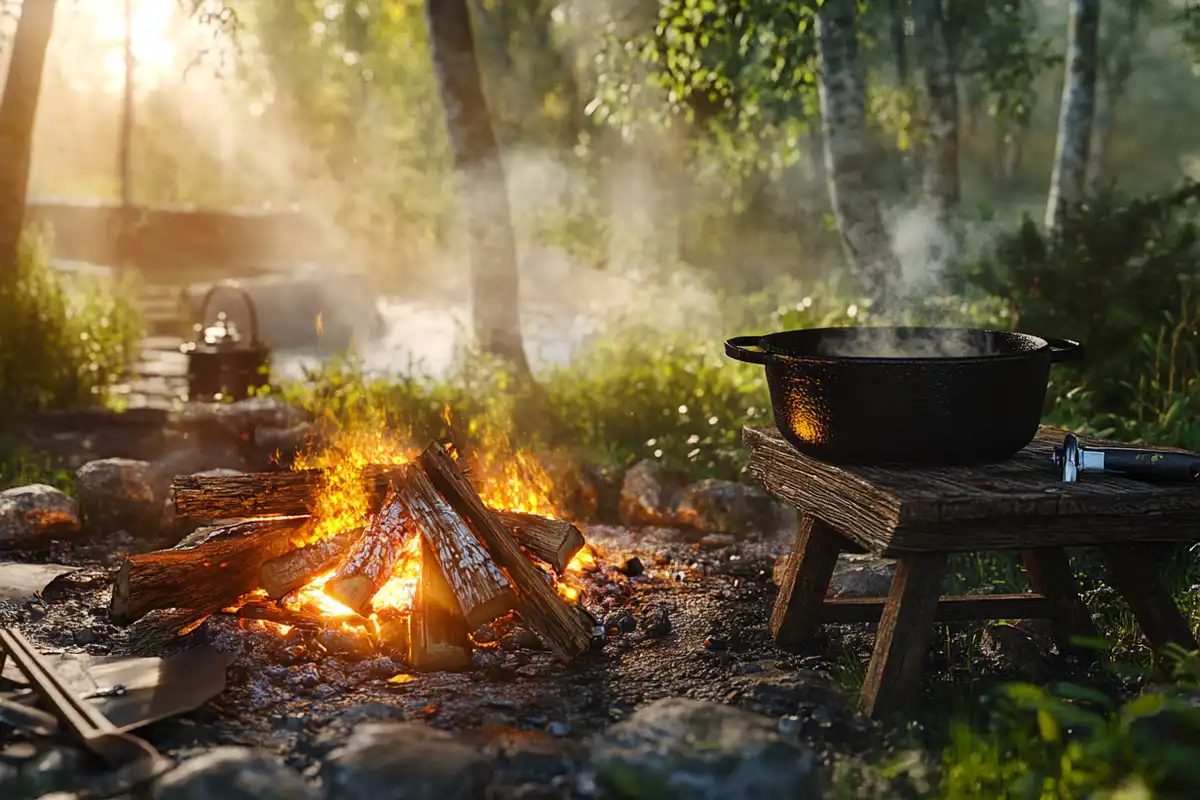
Cooking with a Dutch oven isn’t just about sustenance; it’s about creating memories around a campfire. Imagine the comforting aroma of stew bubbling away as the stars begin to twinkle above. Whether you’re a seasoned camper or a beginner, Dutch oven recipes offer a delightful way to connect with nature and nourish the soul.
Integrating this classic cookware into your adventures ensures that every meal becomes a celebration of the outdoors. So, grab your gear, stoke the fire, and let the magic of Dutch oven cooking transform your camping trips.
Benefits of Cooking with a Dutch Oven While Camping
Why Choose a Dutch Oven for Camping?
When it comes to outdoor cooking, a Dutch oven stands out as a true multitasker. Its heavy-duty construction allows it to handle high heat while retaining it efficiently. This means you can cook meals evenly without constantly adjusting coals or worrying about burnt spots. Plus, it’s versatile enough to bake bread, roast meats, and even simmer delicate sauces—all with the same piece of cookware.
For campers, this versatility is priceless. Imagine having one tool that can handle breakfast casseroles, hearty dinners, and dessert. Not only does it save space in your camping gear, but it also eliminates the hassle of carrying multiple pots and pans.
Experience Gourmet Cooking on the Go
Here’s the kicker: you don’t have to compromise on taste just because you’re in the wilderness. With a Dutch oven, you can whip up gourmet-style meals right over a campfire. Whether you’re preparing cheesy lasagna or a rich chocolate cake, this cookware ensures flavors meld beautifully.
Moreover, the ruggedness of a Dutch oven means you can cook for large groups without breaking a sweat. Whether it’s a family reunion at a campsite or a solo retreat into the woods, the Dutch oven adapts seamlessly to any situation.
Its unique ability to lock in moisture and evenly cook food also makes it perfect for slow-cooked meals—ideal for when you want to relax by the fire while dinner takes care of itself. Who wouldn’t love a tool that makes camping feel like a five-star culinary experience?
Essential Equipment and Packing Tips
Must-Have Gear for Dutch Oven Camping

Cooking with a Dutch oven while camping is not just about having the oven itself; it’s about equipping yourself with the right tools to make the process seamless. Here’s a quick checklist of essential gear:
- Heat-resistant gloves: To handle hot coals and the heavy cast iron.
- Lid lifter or tongs: For safely removing the lid without spilling ash into your meal.
- Charcoal chimney starter: A lifesaver for lighting coals quickly and evenly.
- Trivet or tripod: To suspend your Dutch oven over the fire if needed.
- Silicone spatulas and wooden spoons: To avoid scratching the seasoned surface.
Packing these tools alongside your Dutch oven will make cooking stress-free and enjoyable, even in the middle of the wilderness.
How to Pack a Dutch Oven for Camping Safely
Transporting your Dutch oven can be tricky due to its weight and fragile seasoning. Here’s how to keep it safe:
- Use padding: Wrap the oven in a thick towel or blanket to prevent scratches.
- Secure the lid: Place a thin piece of cardboard or bubble wrap between the lid and the pot to avoid clattering during transit.
- Choose a sturdy bag: Invest in a carrying case or a padded tote specifically designed for cast iron cookware.
- Protect the seasoning: Coat the interior with a thin layer of oil and cover it with parchment paper to maintain its finish.
By taking these precautions, your Dutch oven will arrive at your campsite ready to tackle any recipe you throw at it.
Choosing the Right Dutch Oven for Camping
Not all Dutch ovens are created equal. While enameled ovens are great for kitchens, traditional cast iron is the champion of outdoor cooking. Why? It can handle direct flames and uneven heat better than its enameled counterpart.
Key factors to consider when buying a Dutch oven for camping:
- Size: A 10- or 12-inch oven works well for most camping recipes and group sizes.
- Shape: Opt for a flat-bottomed oven with short legs for better stability over coals.
- Lid design: Look for a lid with a raised edge (often called a “camp-style” lid) to hold hot coals for even baking.
Best Practices for Using a Dutch Oven Outdoors
Mastering Heat Management in a Dutch Oven
Cooking with a Dutch oven outdoors is all about controlling the heat. Too little heat, and your food won’t cook evenly; too much, and you risk burning it. Luckily, mastering heat management is easier than you think.
- Coal Placement: Place coals both under and on top of the oven for even heat distribution. A general rule of thumb is to use twice as many coals as the oven’s diameter (e.g., 24 coals for a 12-inch oven).
- Temperature Control: Adjust the number of coals to achieve the desired temperature. For baking, focus more coals on the lid; for simmering or frying, distribute them evenly.
- Windbreaks: Protect your cooking area from gusts of wind that can disturb the coals and cause uneven cooking.
Using a coal placement diagram or cheat sheet can help simplify the process. Before you know it, you’ll be flipping golden-brown biscuits and slow-roasting vegetables with ease.
Setting Up a Cooking Station in the Wilderness
Your Dutch oven cooking station should be functional and safe. Choose a flat, stable area for your setup, preferably clear of tall grass or debris to avoid fire hazards.
Steps for Setting Up:
- Lay a fireproof base: Use a metal sheet or fire ring to contain your coals.
- Organize tools: Keep gloves, tongs, and a lid lifter within arm’s reach to avoid interruptions while cooking.
- Prepare a windbreak: Use rocks, logs, or a portable screen to maintain consistent heat on your coals.
Not only does this setup ensure safety, but it also makes cooking a breeze. Plus, a well-organized station will have you looking like a pro camper!
Foods You Shouldn’t Cook in a Dutch Oven
While a Dutch oven is incredibly versatile, there are a few dishes you might want to steer clear of:
- Highly acidic foods: Extended cooking times with ingredients like tomatoes or vinegar can damage the seasoning.
- Delicate recipes: Light fish or tender pastries might not hold up well under the intense heat of a Dutch oven.
- Sticky ingredients: Without proper seasoning, sugary recipes like caramel can stick to the surface.
By avoiding these pitfalls, you’ll keep your Dutch oven in prime condition for countless camping trips.
10 Easy Dutch Oven Recipes for Camping
Simple and Delicious Recipes for Outdoor Adventures
Cooking in a Dutch oven isn’t just about functionality—it’s about creating meals that make you feel at home in the wild. Whether you’re craving savory dishes or a sweet treat, these recipes have you covered.
#1: Dutch Oven Chili
- Ingredients: Ground beef, kidney beans, tomatoes, chili seasoning, onion, garlic.
- Instructions: Brown the beef and sauté the onions and garlic in your Dutch oven. Add beans, tomatoes, and seasoning, then simmer over medium heat for 30–40 minutes.
- Pro Tip: Serve with cornbread or tortilla chips for a hearty meal.
#2: Campfire Chicken Pot Pie
- Ingredients: Pre-cooked chicken, mixed vegetables, cream of chicken soup, and biscuit dough.
- Instructions: Layer the chicken and vegetables in the Dutch oven. Pour in soup and top with biscuit dough. Bake with coals on the lid for 20 minutes or until golden.
#3: Dutch Oven Sourdough Bread
- Ingredients: Sourdough starter, flour, water, salt.
- Instructions: Mix ingredients and let the dough rise overnight. Place in the Dutch oven and bake with coals on top and bottom for about 30 minutes.
- Pro Tip: Preheat your oven slightly to get that crusty exterior.
#4: Loaded Breakfast Casserole
- Ingredients: Eggs, cooked sausage, hash browns, cheese, bell peppers.
- Instructions: Combine all ingredients in your Dutch oven and bake with even heat distribution.
#5: Smoky Campfire Mac and Cheese
- Ingredients: Pasta, cheese sauce, milk, breadcrumbs.
- Instructions: Cook pasta in boiling water, drain, and mix with cheese sauce and milk. Sprinkle breadcrumbs on top and bake with coals on the lid.
#6: Dutch Oven Beef Stew

- Ingredients: Beef chunks, potatoes, carrots, onions, broth, seasonings.
- Instructions: Brown the beef, then add vegetables, broth, and seasonings. Simmer over low heat for 2–3 hours.
#7: Garlic Herb Dutch Oven Potatoes
- Ingredients: Baby potatoes, garlic, herbs, olive oil.
- Instructions: Toss potatoes in oil and herbs, then roast in your Dutch oven until tender and crispy.
#8: Dutch Oven Peach Cobbler
- Ingredients: Canned peaches, yellow cake mix, butter, cinnamon.
- Instructions: Pour peaches into the Dutch oven, sprinkle cake mix on top, and place slices of butter evenly. Bake until golden.
#9: Campfire Lasagna
- Ingredients: Noodles, marinara sauce, ricotta cheese, mozzarella, ground beef.
- Instructions: Layer ingredients in the Dutch oven and bake until bubbly and hot.
#10: Classic Dutch Oven Pizza
- Ingredients: Pre-made pizza dough, tomato sauce, cheese, toppings of choice.
- Instructions: Spread the dough in the oven, add toppings, and bake with coals on the lid for 15–20 minutes.
Recipe Tips and Substitutions
- Swap meat for plant-based options in recipes like chili or lasagna.
- Use gluten-free substitutes for bread and pasta.
- Experiment with fresh or canned ingredients based on availability.
Cooking these recipes in a Dutch oven will make every meal the highlight of your camping adventure!
Tips for Cleaning and Maintaining Your Dutch Oven

Keeping Your Dutch Oven in Top Shape
Proper care of your Dutch oven ensures that it lasts for generations. While it’s designed to be durable, neglecting maintenance can lead to rust or damage to its seasoning. Follow these steps to keep it in pristine condition:
- Scrape food residue gently: Use a wooden or silicone scraper to remove leftover bits of food without scratching the surface.
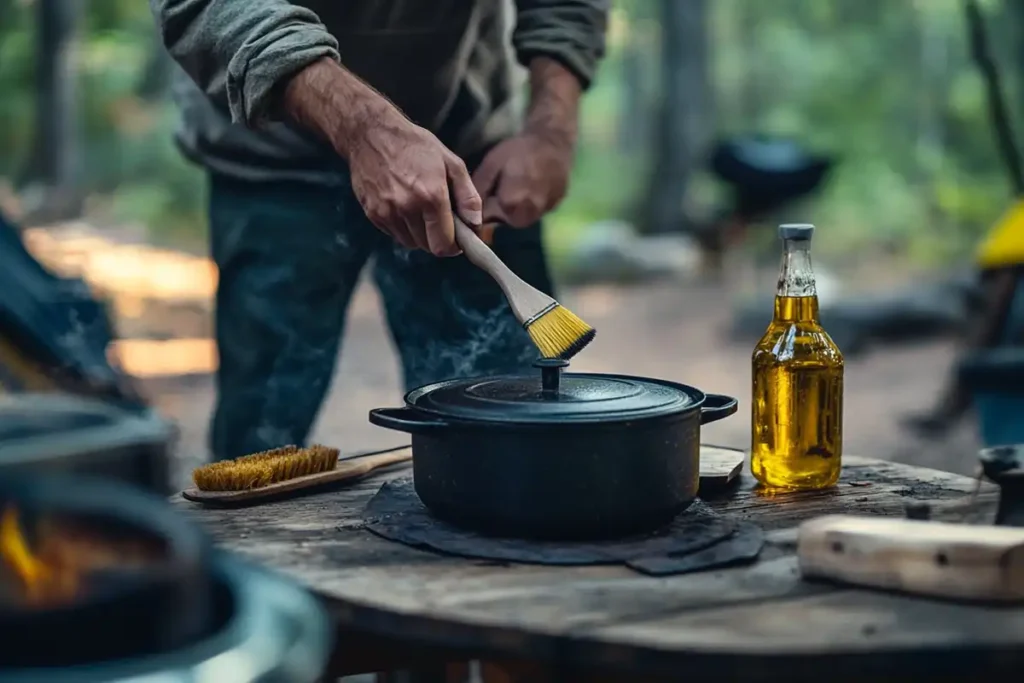
- Wash without soap: Rinse the oven with warm water, using a stiff brush if necessary. Avoid using dish soap as it can strip away the seasoning.
- Dry thoroughly: Wipe the oven dry immediately to prevent rust. A quick heat-up over the campfire can also help evaporate remaining moisture.
- Re-season after cleaning: Apply a thin layer of vegetable oil to the interior while it’s still warm, then heat it until the oil absorbs into the surface.
Storing Your Dutch Oven After Camping
Once your Dutch oven is clean and seasoned, proper storage is crucial to keep it ready for your next adventure.
Steps for Storage:
- Choose a dry location: Store it in a cool, dry place to avoid moisture accumulation.
- Separate the lid: Place a paper towel or cloth between the lid and the pot to allow airflow and prevent sticking.
- Re-oil periodically: If the Dutch oven will be unused for a long time, lightly oil it before storing to maintain the seasoning.
By following these tips, you’ll ensure your trusty Dutch oven is always ready to deliver delicious meals on your camping trips.
Common Mistakes to Avoid While Using a Dutch Oven
Avoid These Pitfalls in Dutch Oven Cooking
Cooking with a Dutch oven is a rewarding experience, but it’s not without its challenges. By learning from common mistakes, you can avoid mishaps and make every meal a success.
- Overheating the Oven: Applying too many coals can cause food to burn or stick. Instead, follow the coal placement guidelines and adjust as needed.
- Skipping Pre-seasoning: Cooking in an unseasoned oven can lead to sticking and flavor loss. Always ensure your oven is well-seasoned before use.
- Using Metal Utensils: Metal tools can scratch the seasoning, reducing its nonstick properties. Opt for silicone or wooden utensils to protect the surface.
- Neglecting Heat Distribution: Uneven placement of coals can result in hot spots. Rotate the oven periodically to maintain an even temperature.
- Forgetting to Clean Immediately: Allowing food to sit in the oven for too long can make cleaning difficult and may damage the seasoning.
Tips for First-Timers
If you’re new to Dutch oven cooking, start with simple recipes that are forgiving, like stews or casseroles. Practice heat control, and don’t hesitate to experiment—you’ll be a campfire chef in no time.
By avoiding these mistakes and following best practices, you’ll enhance the durability of your Dutch oven and the quality of your meals, making your camping adventures even more memorable.
Frequently Asked Questions About Dutch Oven Camping Recipes
How to pack a Dutch oven for camping?
Packing a Dutch oven requires care to ensure it stays safe during travel. Start by wrapping it in a thick towel or padded case to protect it from scratches. Place a soft barrier, like cardboard or bubble wrap, between the lid and the pot to prevent them from clanging together. Secure the package in a stable part of your vehicle, avoiding sharp movements that could cause damage.
Is a Dutch oven good for camping?
Absolutely! A Dutch oven is one of the best tools for camping due to its versatility and durability. It can handle various cooking tasks, from baking and frying to simmering and roasting, all while evenly distributing heat. Its ability to retain heat makes it perfect for outdoor conditions where temperature control is challenging.
Is there anything you shouldn’t cook in a Dutch oven?
While Dutch ovens are versatile, some foods should be avoided. Highly acidic dishes, like tomato-based recipes cooked for extended periods, can wear down the seasoning. Delicate items, such as flaky pastries or tender fish, might not hold up well due to the intense heat of campfires. Sticky ingredients like caramel can also be tricky if the oven isn’t well-seasoned.
What to cook in a Dutch oven for camping?
The possibilities are endless! From hearty stews and casseroles to baked goods and desserts, a Dutch oven can handle almost anything. Popular choices include chili, bread, cobblers, lasagna, and roasted vegetables. These recipes are easy to prepare, require minimal cleanup, and are perfect for feeding groups.
How do I clean a Dutch oven at a campsite?
Cleaning your Dutch oven at a campsite is straightforward. After cooking, scrape off any food residue with a wooden scraper. Rinse with warm water, avoiding soap to preserve the seasoning. Dry thoroughly to prevent rust, and reapply a light coat of oil before storing it.
What size Dutch oven is best for camping?
The size depends on your group. For most campers, a 10- or 12-inch oven is ideal, as it can accommodate meals for 4–6 people. Larger groups may require a 14-inch oven, while solo adventurers might prefer an 8-inch option.
Elevate Your Outdoor Cooking with Dutch Oven Camping Recipes
Cooking with a Dutch oven during your camping trips is more than just preparing meals—it’s about creating unforgettable moments around the campfire. From its versatility and durability to its ability to handle gourmet recipes, the Dutch oven is an indispensable tool for campers of all skill levels.
With the right equipment, a few simple techniques, and an array of delicious recipes, you can transform every camping trip into a culinary adventure. Whether you’re simmering a hearty stew, baking fresh bread, or indulging in a sweet cobbler, the possibilities are endless with this reliable cookware.
So, pack your gear, gather your loved ones, and let the magic of Dutch oven cooking take your outdoor experiences to the next level. Adventure awaits, and so does a warm, delicious meal under the stars!
Print
Master the Art of Dutch Oven Camping Recipes for Easy Outdoor Cooking
- Total Time: 27 minute
- Yield: 6 servings 1x
- Diet: Gluten Free
Description
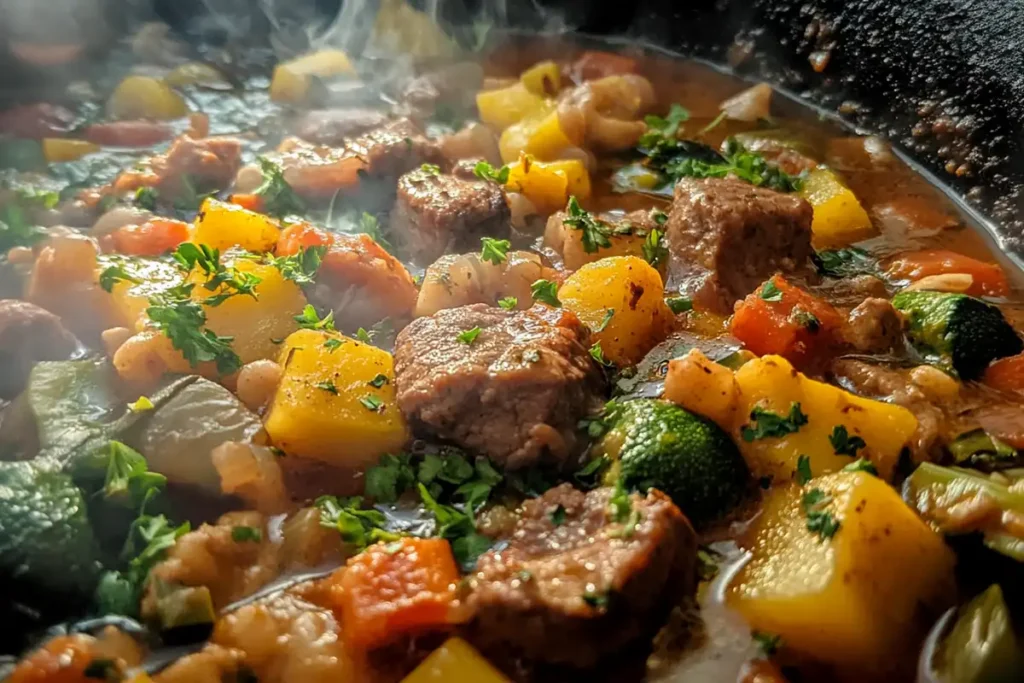
A hearty and comforting beef stew cooked to perfection in a Dutch oven over a campfire. Packed with tender beef, flavorful vegetables, and savory broth, this dish is perfect for camping or home cooking.
Ingredients
- 2 lbs beef stew meat, cubed
- 4 cups beef broth
- 3 medium potatoes, peeled and cubed
- 4 carrots, sliced
- 2 celery stalks, diced
- 1 large onion, chopped
- 2 cloves garlic, minced
- 3 tbsp tomato paste
- 2 tbsp olive oil
- 2 tsp salt
- 1 tsp black pepper
- 1 tsp dried thyme
- 1 tsp rosemary
- 1 bay leaf
- 1 tbsp flour (optional, for thickening)
Instructions
- Prepare the Dutch Oven: Heat the Dutch oven over medium heat on campfire coals or stovetop. Add olive oil.
- Sear the Beef: Brown the beef in batches, ensuring all sides are caramelized. Remove and set aside.
- Cook Aromatics: In the same Dutch oven, sauté the onions, garlic, celery, and carrots until softened (about 5 minutes).
- Combine Ingredients: Add the tomato paste and stir until blended. Return the beef to the pot, then pour in the beef broth. Add potatoes, thyme, rosemary, bay leaf, salt, and pepper. Stir to combine.
- Simmer: Cover the Dutch oven with the lid and place it over coals or medium heat. Let it simmer for 2-3 hours, stirring occasionally, until the beef is tender and the flavors meld.
- Thicken (Optional): If you prefer a thicker stew, remove 1/4 cup of the broth, whisk it with flour, and stir it back into the pot. Simmer for another 10 minutes.
- Serve: Discard the bay leaf and serve hot with crusty bread or over rice.
Notes
- You can substitute chicken or vegetable broth for beef broth.
- For added flavor, include a splash of Worcestershire sauce or a pinch of smoked paprika.
- Adjust cooking time based on your heat source; campfire temperatures may vary.
- Prep Time: 15 minutes
- Cook Time: 2–3 hours
- Category: Dinner
- Method: Campfire or Dutch Oven Cooking
- Cuisine: American
Nutrition
- Serving Size: 1 bowl (approx. 1.5 cups)
- Calories: 350
- Sugar: 5g
- Sodium: 900mg
- Fat: 15g
- Saturated Fat: 5g
- Unsaturated Fat: 8g
- Trans Fat: 0g
- Carbohydrates: 22g
- Fiber: 4g
- Protein: 28g
- Cholesterol: 85mg

